In my house, using the iPad is an earned privilege. But guess what? Kids will be kids, and inevitably I’ll find one of them tucked quietly in a corner playing something they shouldn’t anyways.
So I’ve learned how to use Guided Access and Restrictions to make sure my kids aren’t looking at things that aren’t allowed. Guided Access works for temporarily limiting kiddos to playing only one app on a device (like your personal iPhone or iPad). We’ve covered Restrictions, which are best for devices that your kids use most – read our walk-through here.
Set up Guided Access
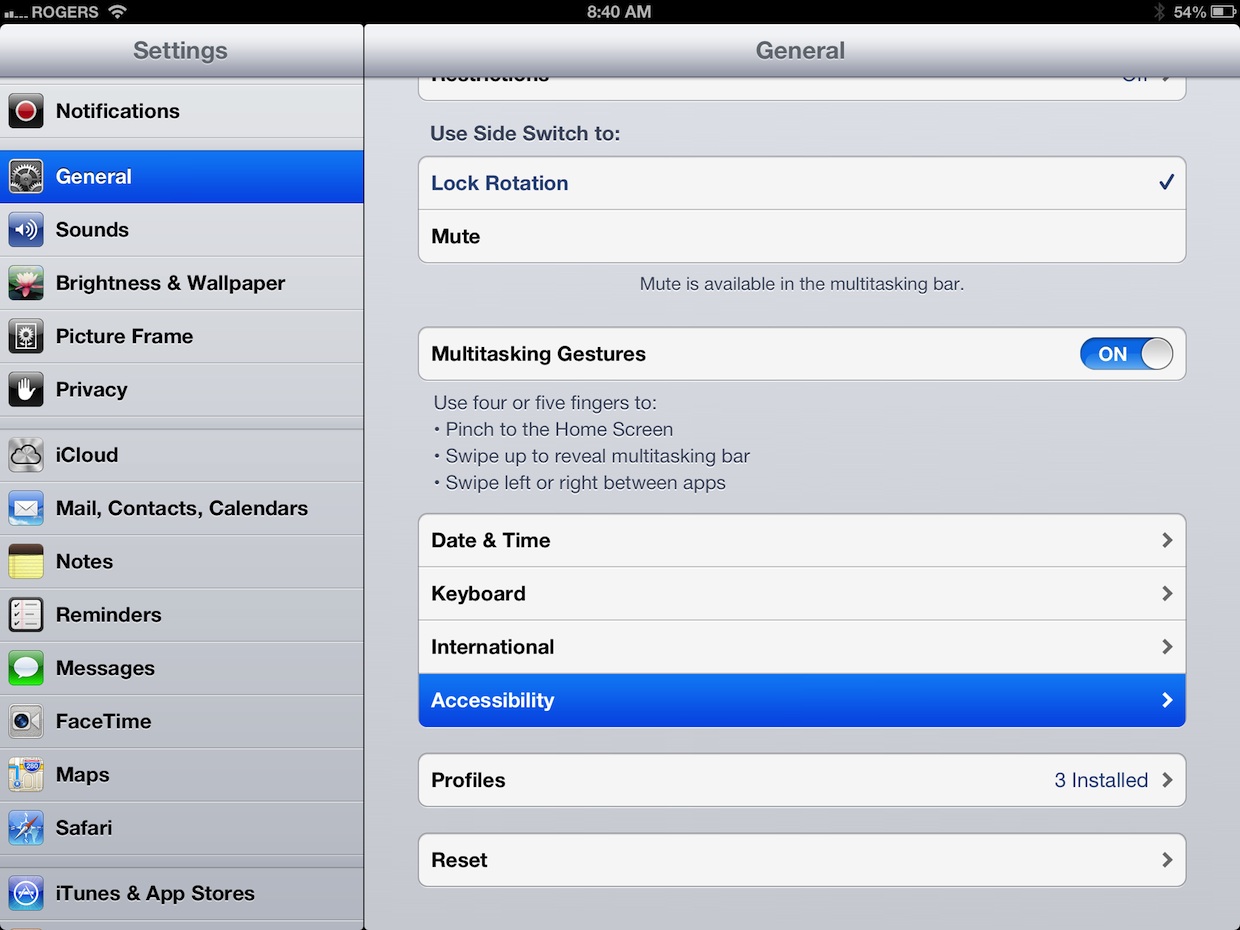
- Tap Settings > General > Accessibility > Guided Access to set up Guided Access. From there, here’s what you can do:
- Turn Guided Access on or off
- Set a passcode that controls the use of Guided Access and prevents someone from leaving an active session
- Set whether the device can go to sleep during a session
Start a Guided Access session
To start a Guided Access session, follow these steps:
- Open the app you want to use.
- Triple-click the Home button.
- Adjust settings for the session, and then tap Start.
You can use Guided Access to:
- Temporarily restrict your iOS device to a single app
- Disable areas of the screen that aren’t relevant to a task, or areas where an accidental gesture might cause a distraction
- Disable the hardware buttons


